Why Cabinet Prep Work Makes or Breaks the Final Finish
The Part Most People Never See
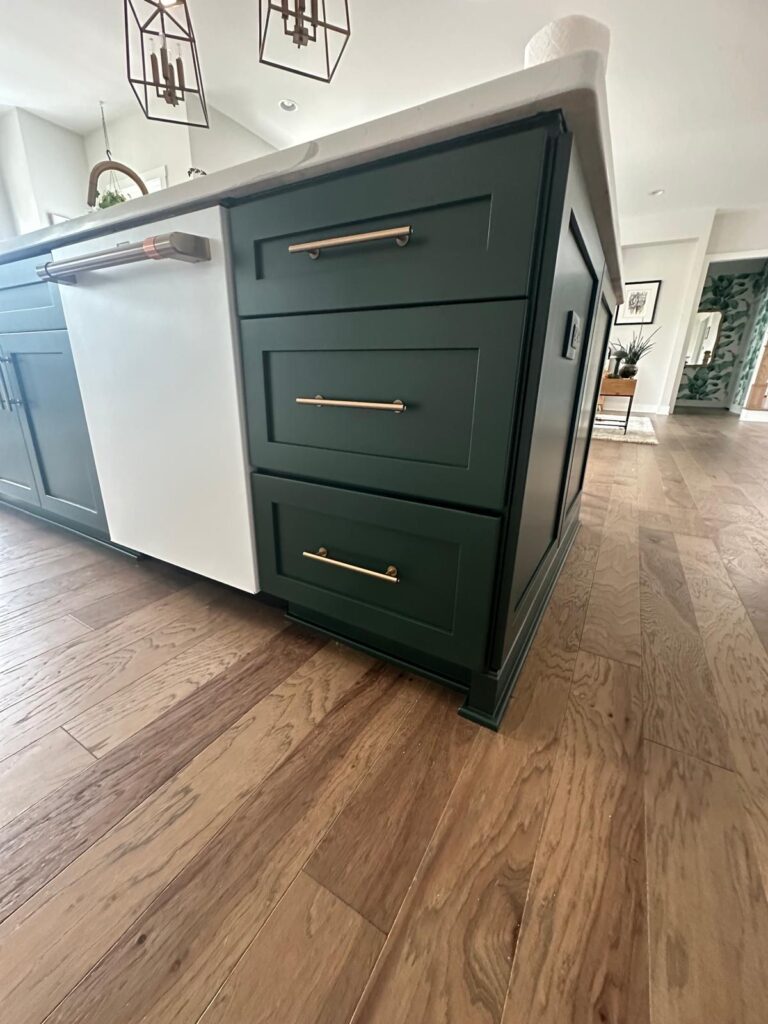
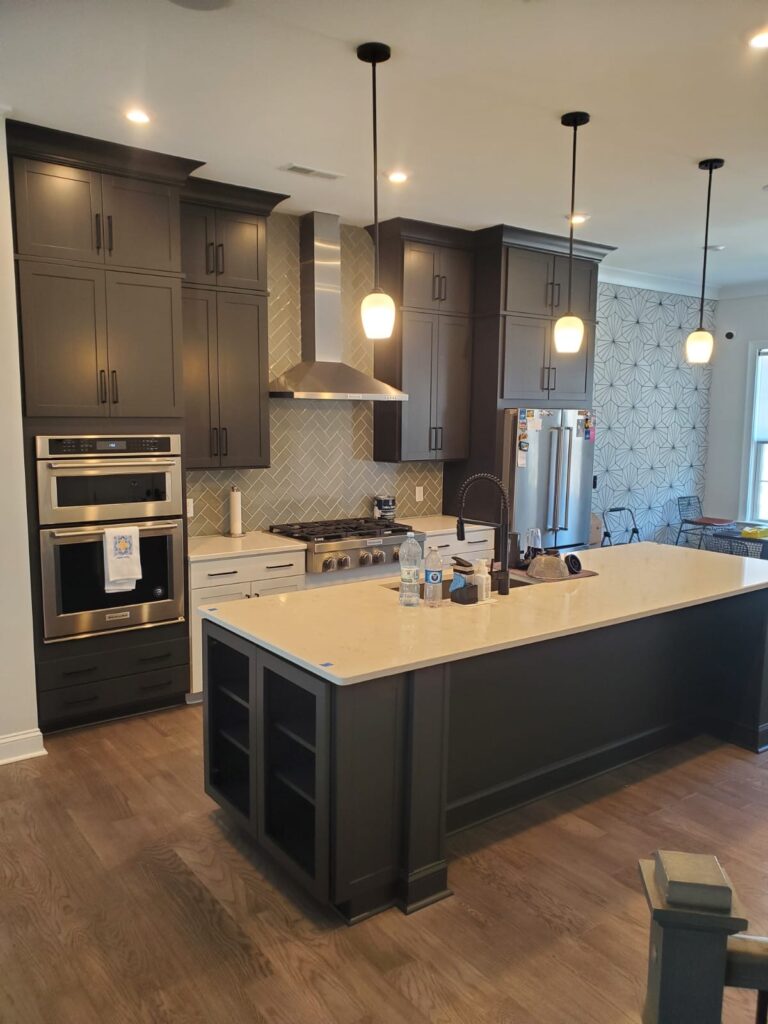
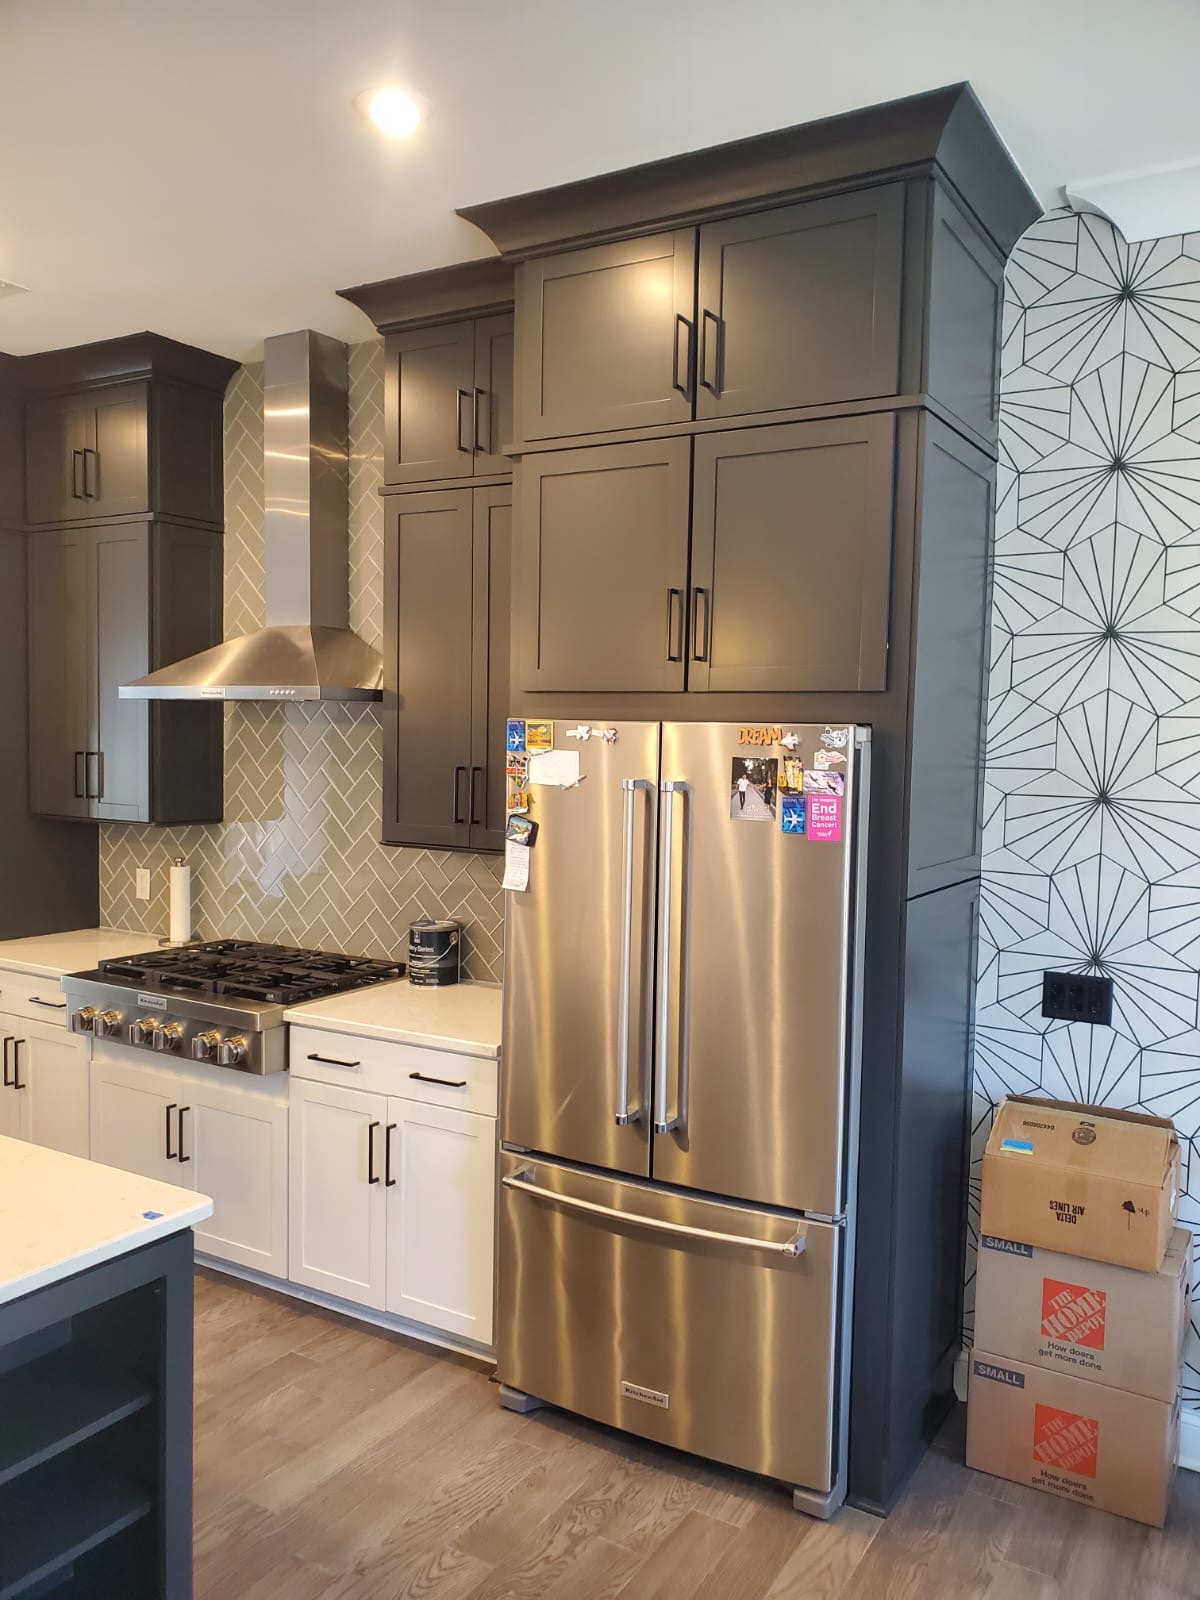
When a homeowner sees a beautifully finished cabinet for the first time, the reaction is almost always about the paint — the color, the smoothness, the way it catches the light. What they’re actually looking at, though, is the result of hours of preparation work that happened long before the first drop of paint was applied. Prep is the invisible foundation of every great finish, and it’s the single biggest factor that separates a cabinet painting result that lasts for years from one that starts showing problems within months.
Why Kitchen Cabinets Require Such Thorough Preparation
Cabinets aren’t like walls. They take a beating every single day — constant touching, cleaning, steam from cooking, grease from the stovetop, and the mechanical stress of being opened and closed hundreds of times a year. A finish that isn’t properly prepared and bonded to the surface will not hold up to that environment, no matter how good the paint itself is.
The most common reasons cabinet painting jobs fail prematurely have nothing to do with the paint and everything to do with inadequate preparation:
Chipping at edges because corners weren’t properly primed and sealed
Paint peeling because surfaces weren’t properly cleaned of grease before priming
Poor adhesion because surfaces weren’t sanded to give the primer something to grip
Visible imperfections because dings and scratches weren’t filled before painting
Brush marks or texture because the wrong application method was used
What Proper Cabinet Preparation Actually Looks Like
At Simpli Painted, every project follows the same thorough preparation sequence before any paint is applied:
Step 1: Full Disassembly
Every door and drawer front is carefully removed, labeled, and transported to the shop for painting. This is non-negotiable for a quality result — it’s simply not possible to achieve a factory-quality finish spraying doors while they’re hanging in your kitchen.
Step 2: Deep Cleaning & Degreasing
Kitchen cabinets accumulate years of grease, cooking residue, and grime — much of it invisible to the naked eye. Every surface is cleaned with professional-grade degreasers until it is completely free of any contamination. Paint applied over even a thin film of grease will not adhere properly.
Step 3: Sanding
Every surface is sanded to create mechanical adhesion — microscopic texture that gives the primer something to grip. This step is where many shortcuts are taken by less experienced painters, and it’s where the longevity of the finish is largely determined.
Step 4: Filling & Repairing
Every ding, scratch, dent, and imperfection is filled, allowed to cure, and sanded smooth. Ronald’s background in boat and automotive finishing — industries where perfection is the only standard — means he addresses imperfections that many cabinet painters would simply paint over.
Step 5: Priming
A professional-grade primer is applied to every surface before topcoat. The right primer for the specific cabinet material and existing finish is selected — there is no one-size-fits-all approach.
Step 6: Topcoat Application
The finish topcoat is spray-applied in the controlled environment of the shop — no dust, no wind, and no risk of overspray in your home. Multiple coats are applied with proper flash time between each.
The honest truth is that preparation takes significantly more time than painting. A job that takes two days to paint might require three or four days of preparation. That’s not inefficiency — that’s the difference between a finish that looks great for one year and one that looks great for ten.
Experience the Simpli Painted difference — a finish built to last. Free quotes at simplipainted.com